The Very Tasty and Not So Difficult Sourdough Bread
A couple of years ago my sister gave me a sourdough which she has grown by herself. I remember it was not a flawless process. Only after many tries she was able to have a goo with no signs of a mold. Nonetheless, this time she spent trying to grow the sourdough was not wasted. The first bread she has baked was so delicious. There was no way that I could not try it. And I tried. Since that time I have still the same sourdough and I bake the bread regularly.
Ingredients
For a one standard-size bread (the volume of my baking mold is about 11.5 cm (4 1/2″) width × 21 cm (8 1/4″) length × 7.5 cm (3″) height).
- 200 g typical wheat bread flour (type 750)
- 275 g all-purpose wheat flour (type 500/550)
- 1 cup (250 ml) wholemeal rye flour (type 2000)
- 2 tsp (10 ml) fine salt
- 2 tsp (10 ml) fine sugar
- approx. 200 g sourdough
- 2 cups (500 ml) of warm water (not boiling, not very hot, just warm)
To grease a baking mold.
- some butter
- breadcrumbs
Preparation
Please take into account that the whole process will take about 13 hours (including baking). It does not mean that you have to do something all this time. The dough just needs to rest and rise most of the time. The whole process is divided into three phases.
The first phase covers mixing all the ingredients and the dough preparation. The second part after the first three hours is about moving the dough into a baking mold previously greased with butter and sprinkled with breadcrumbs. The third part after next nine hours is just baking which takes the last hour.
The Dough Preparation
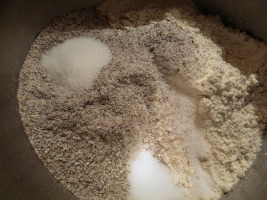
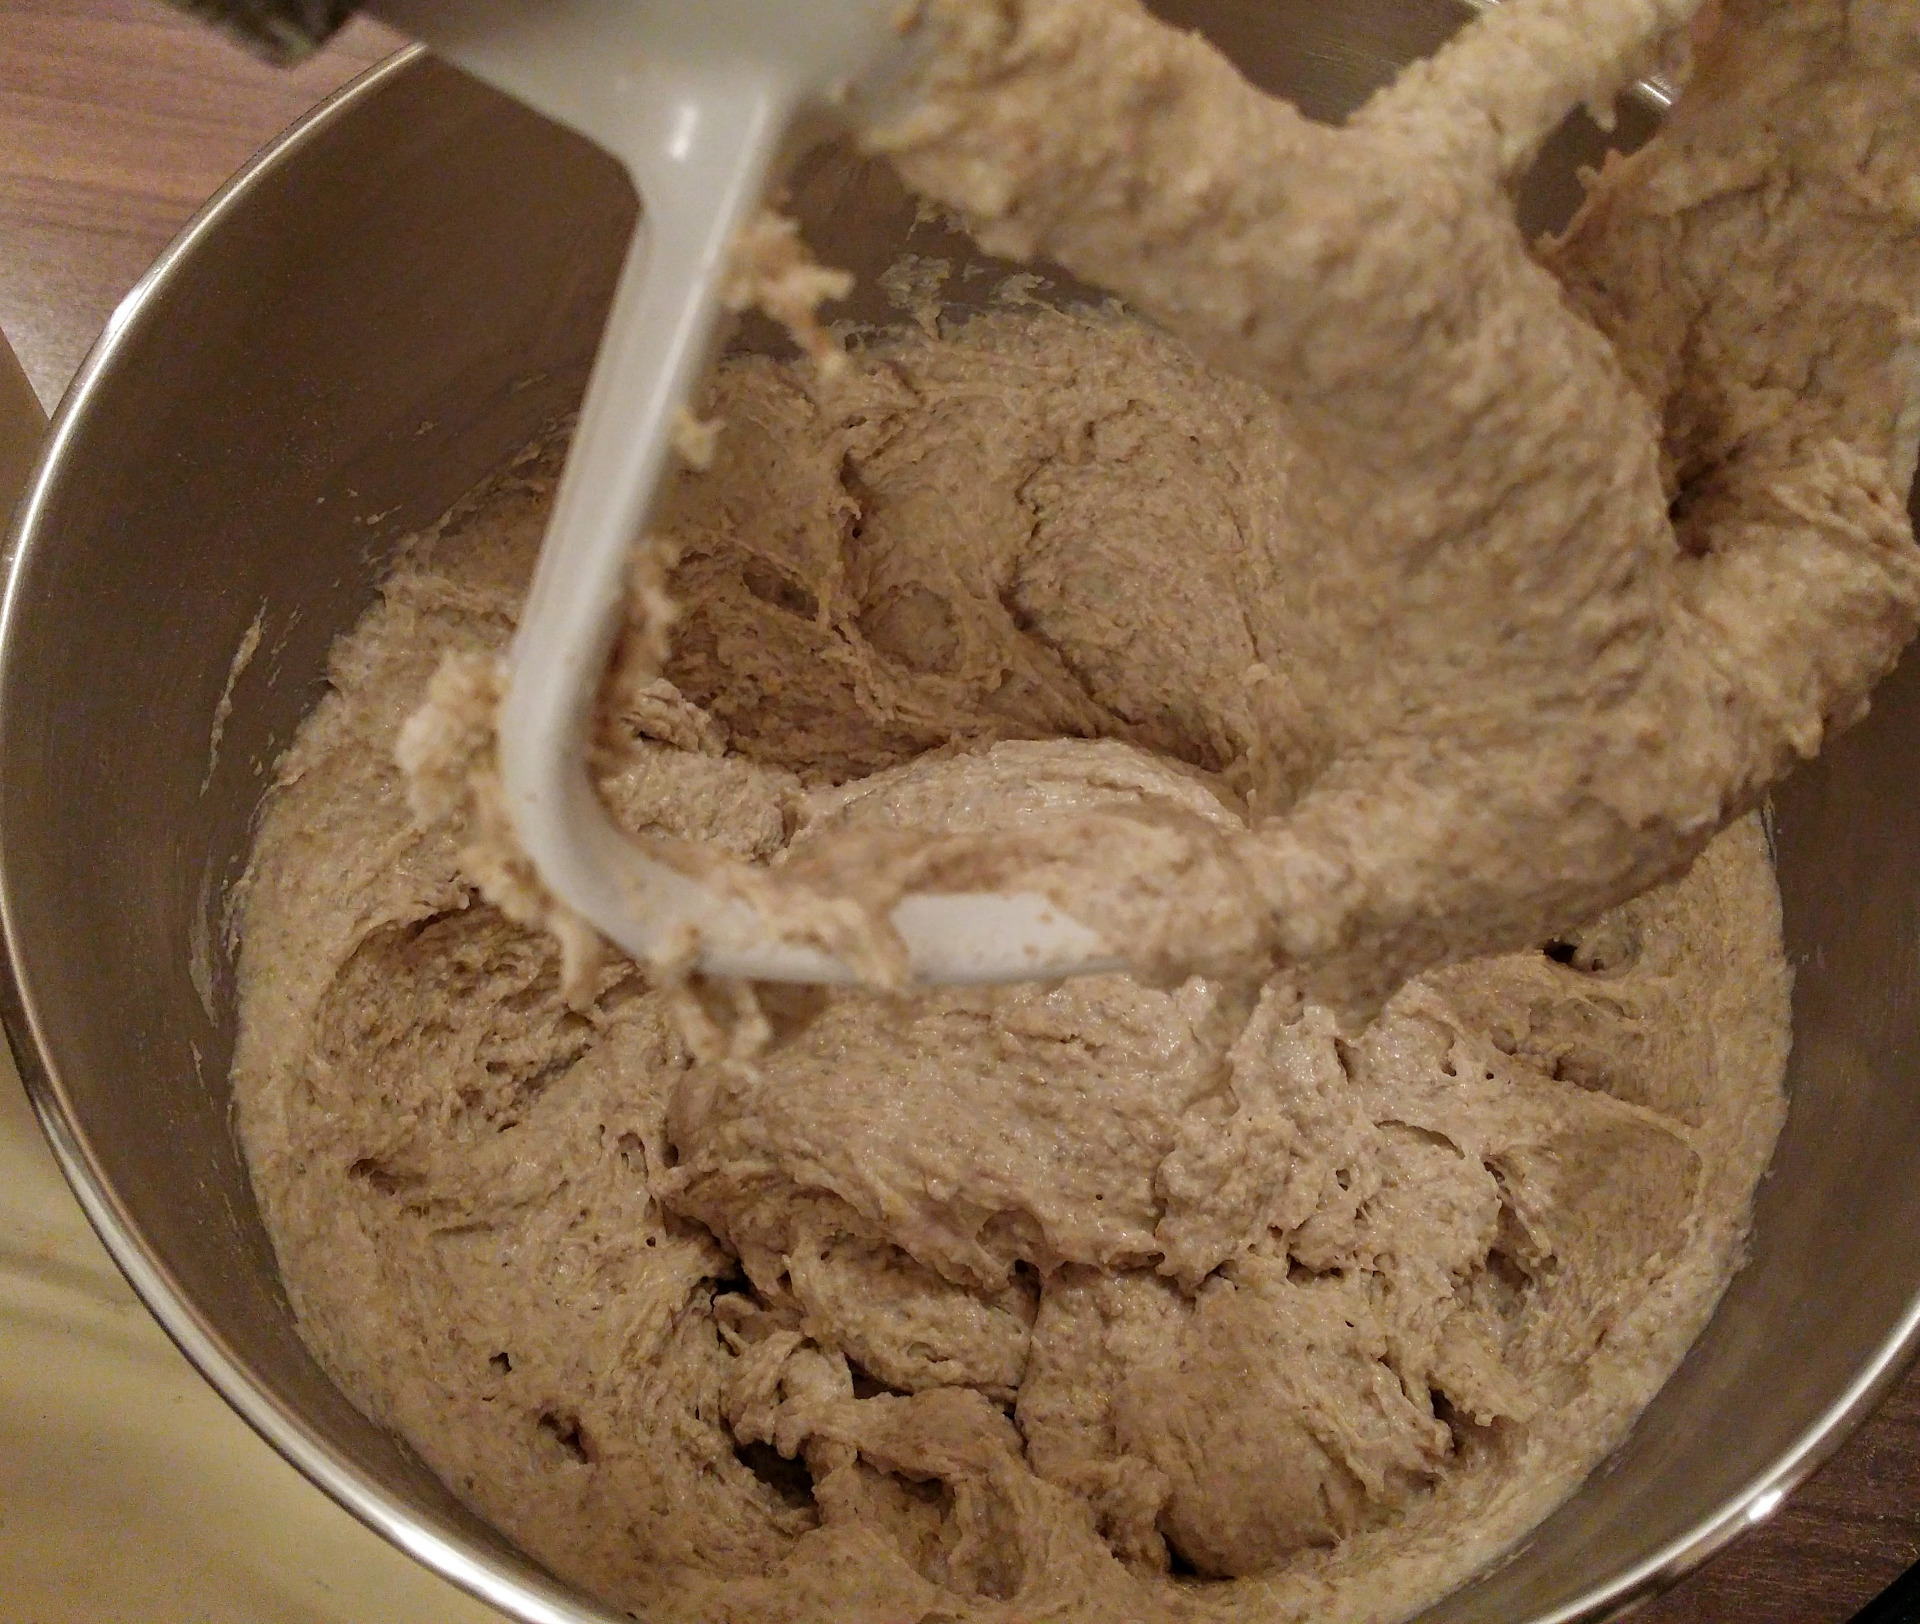
- Put three kinds of the flour types into a mixing bowl.
- Add sugar and salt to the bowl.
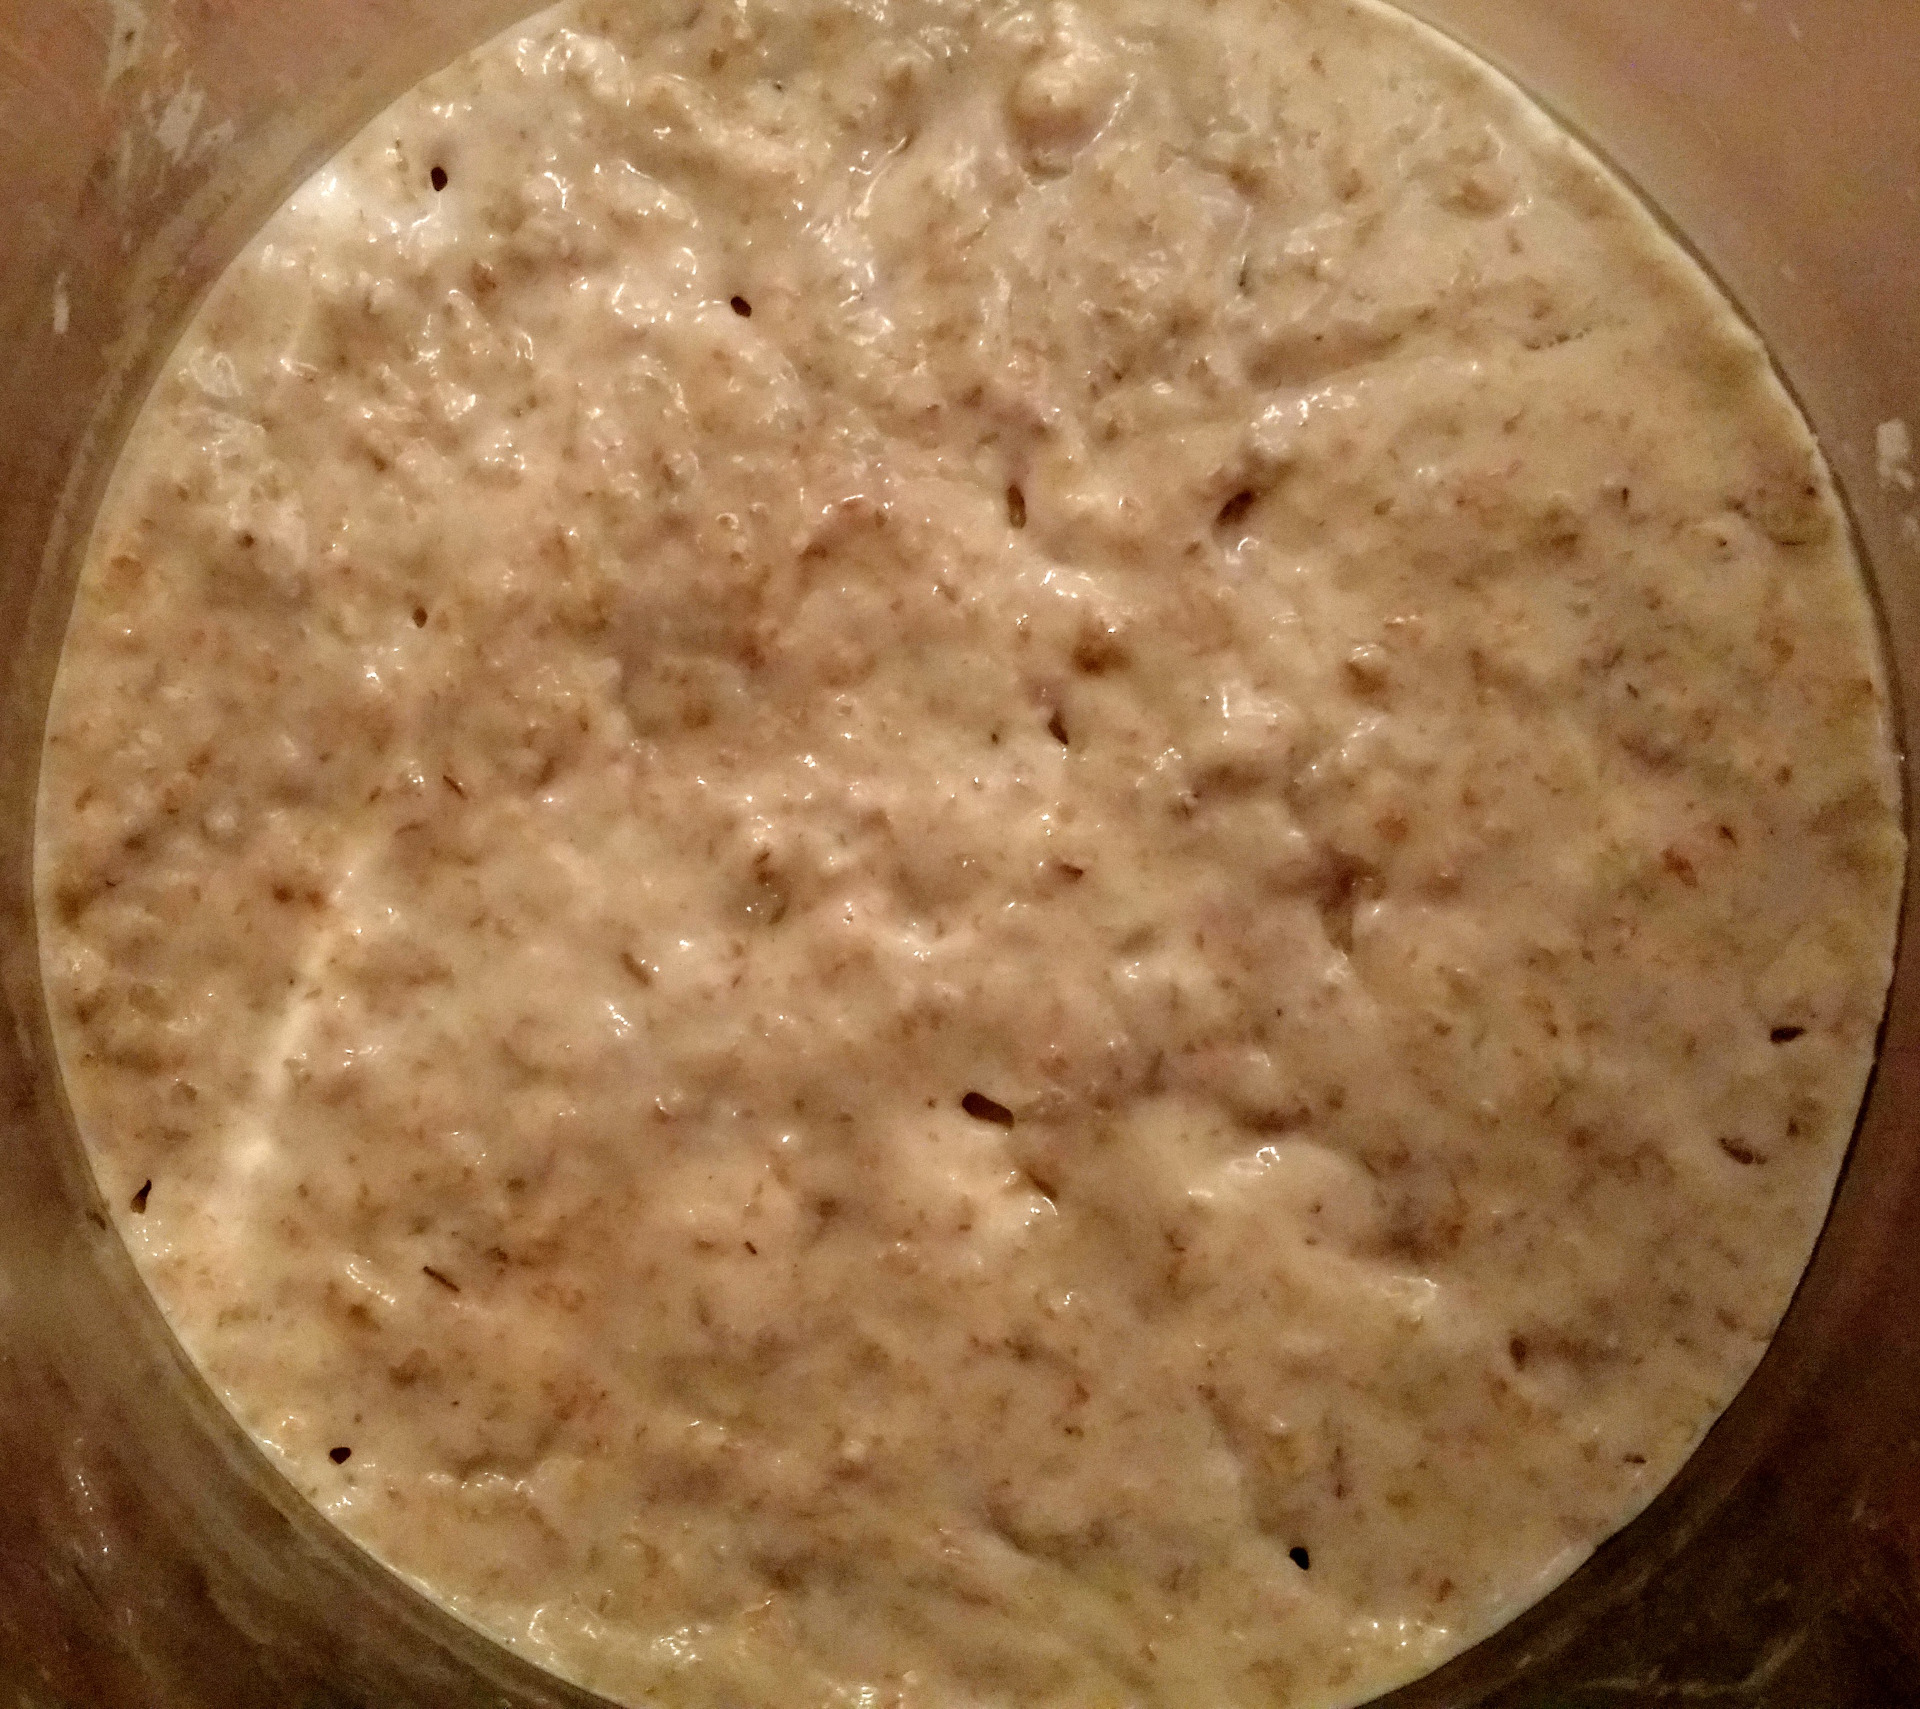
- Stir warm water with sourdough and pour that liquid goo into the same bowl.
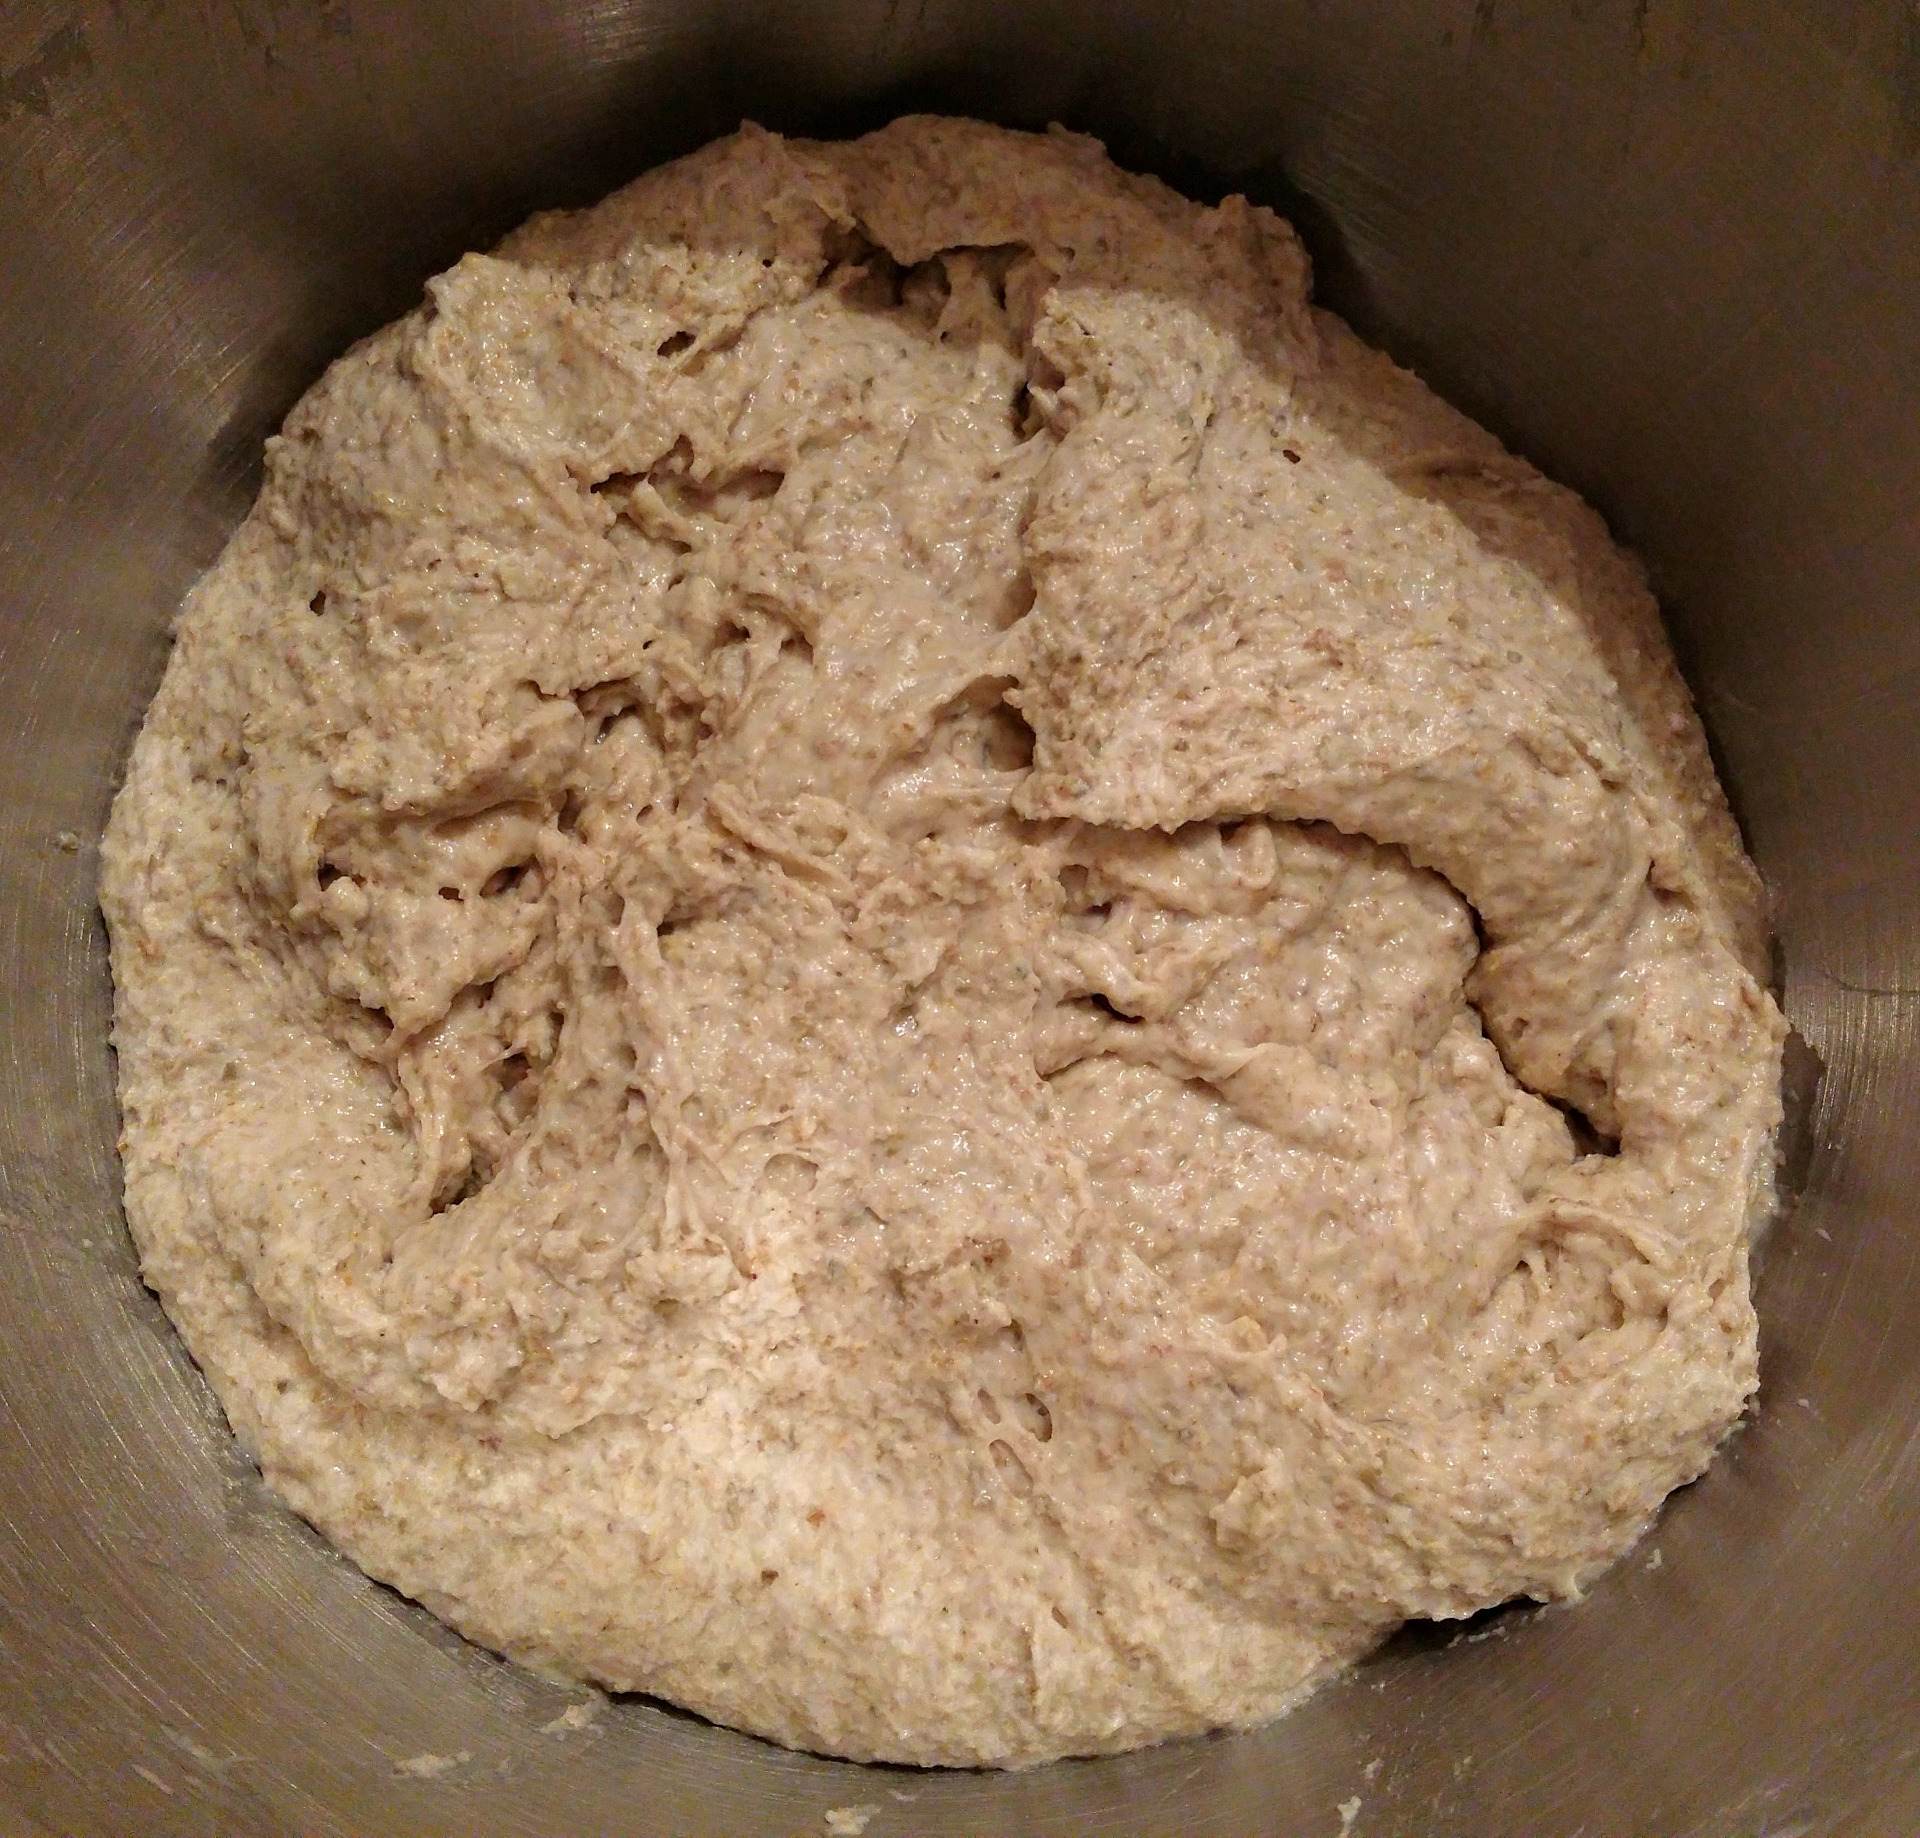
- Mix all the ingredients in a mixer for about five minutes.
- Leave the mixed dough in the bowl covered by a towel for three (3) hours.


Moving Into a Baking Mold
- After the first three hours get about 200 g of the dough and put it into the clean jar for the next bread. Close the jar and put it into a fridge.
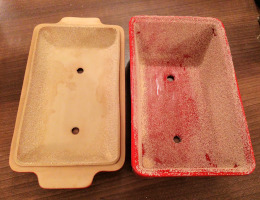
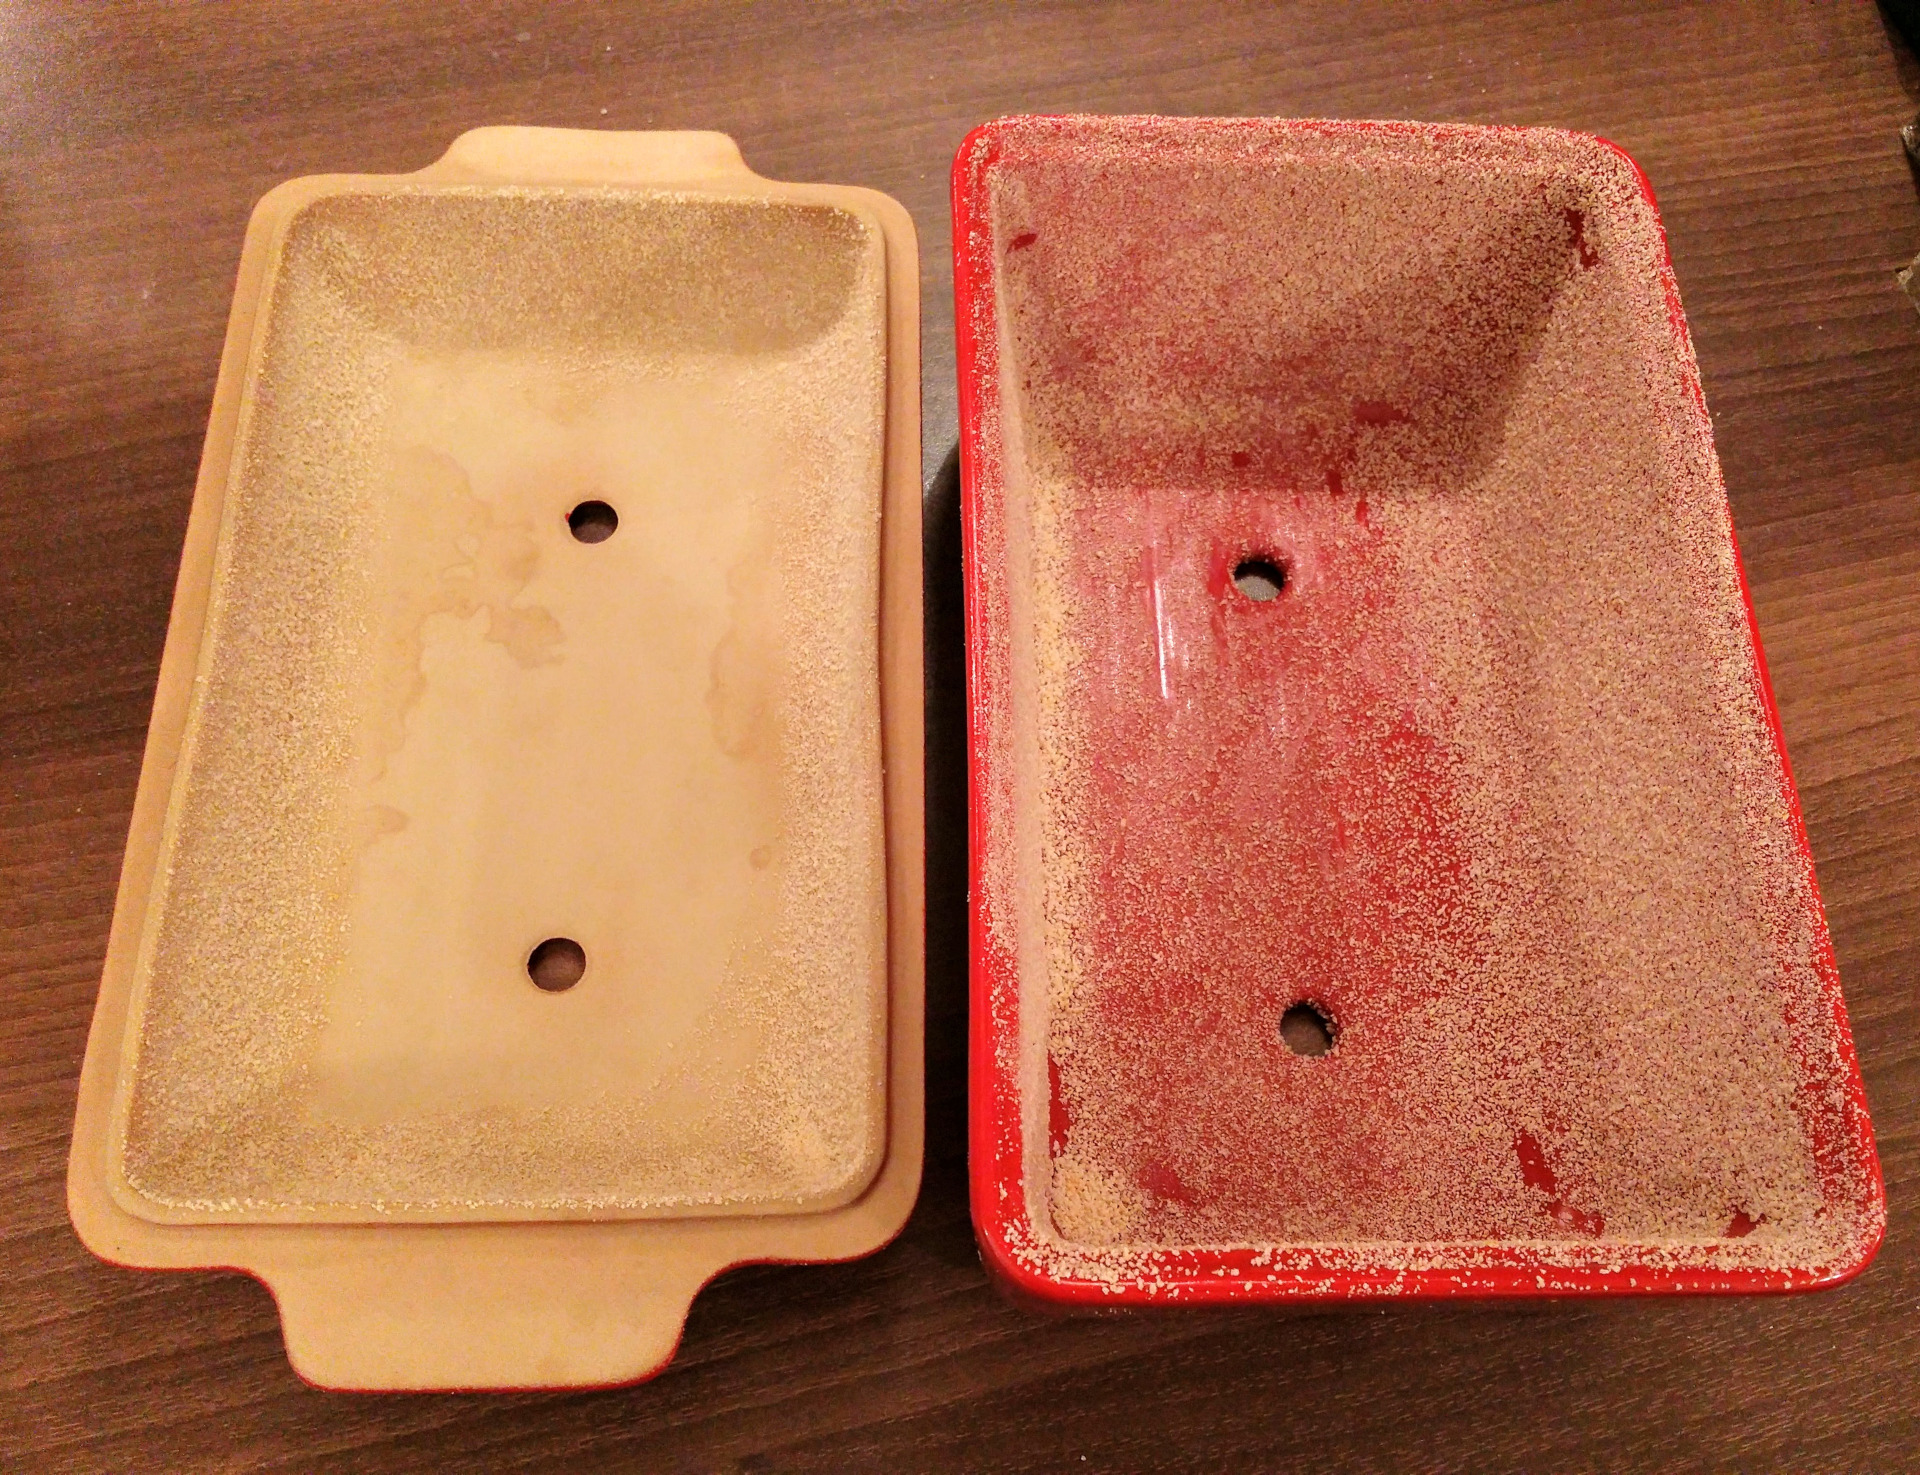
- Grease the baking mold with butter and sprinkle it with breadcrumbs.
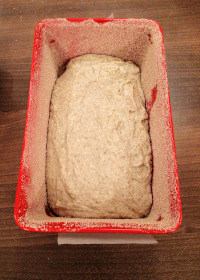
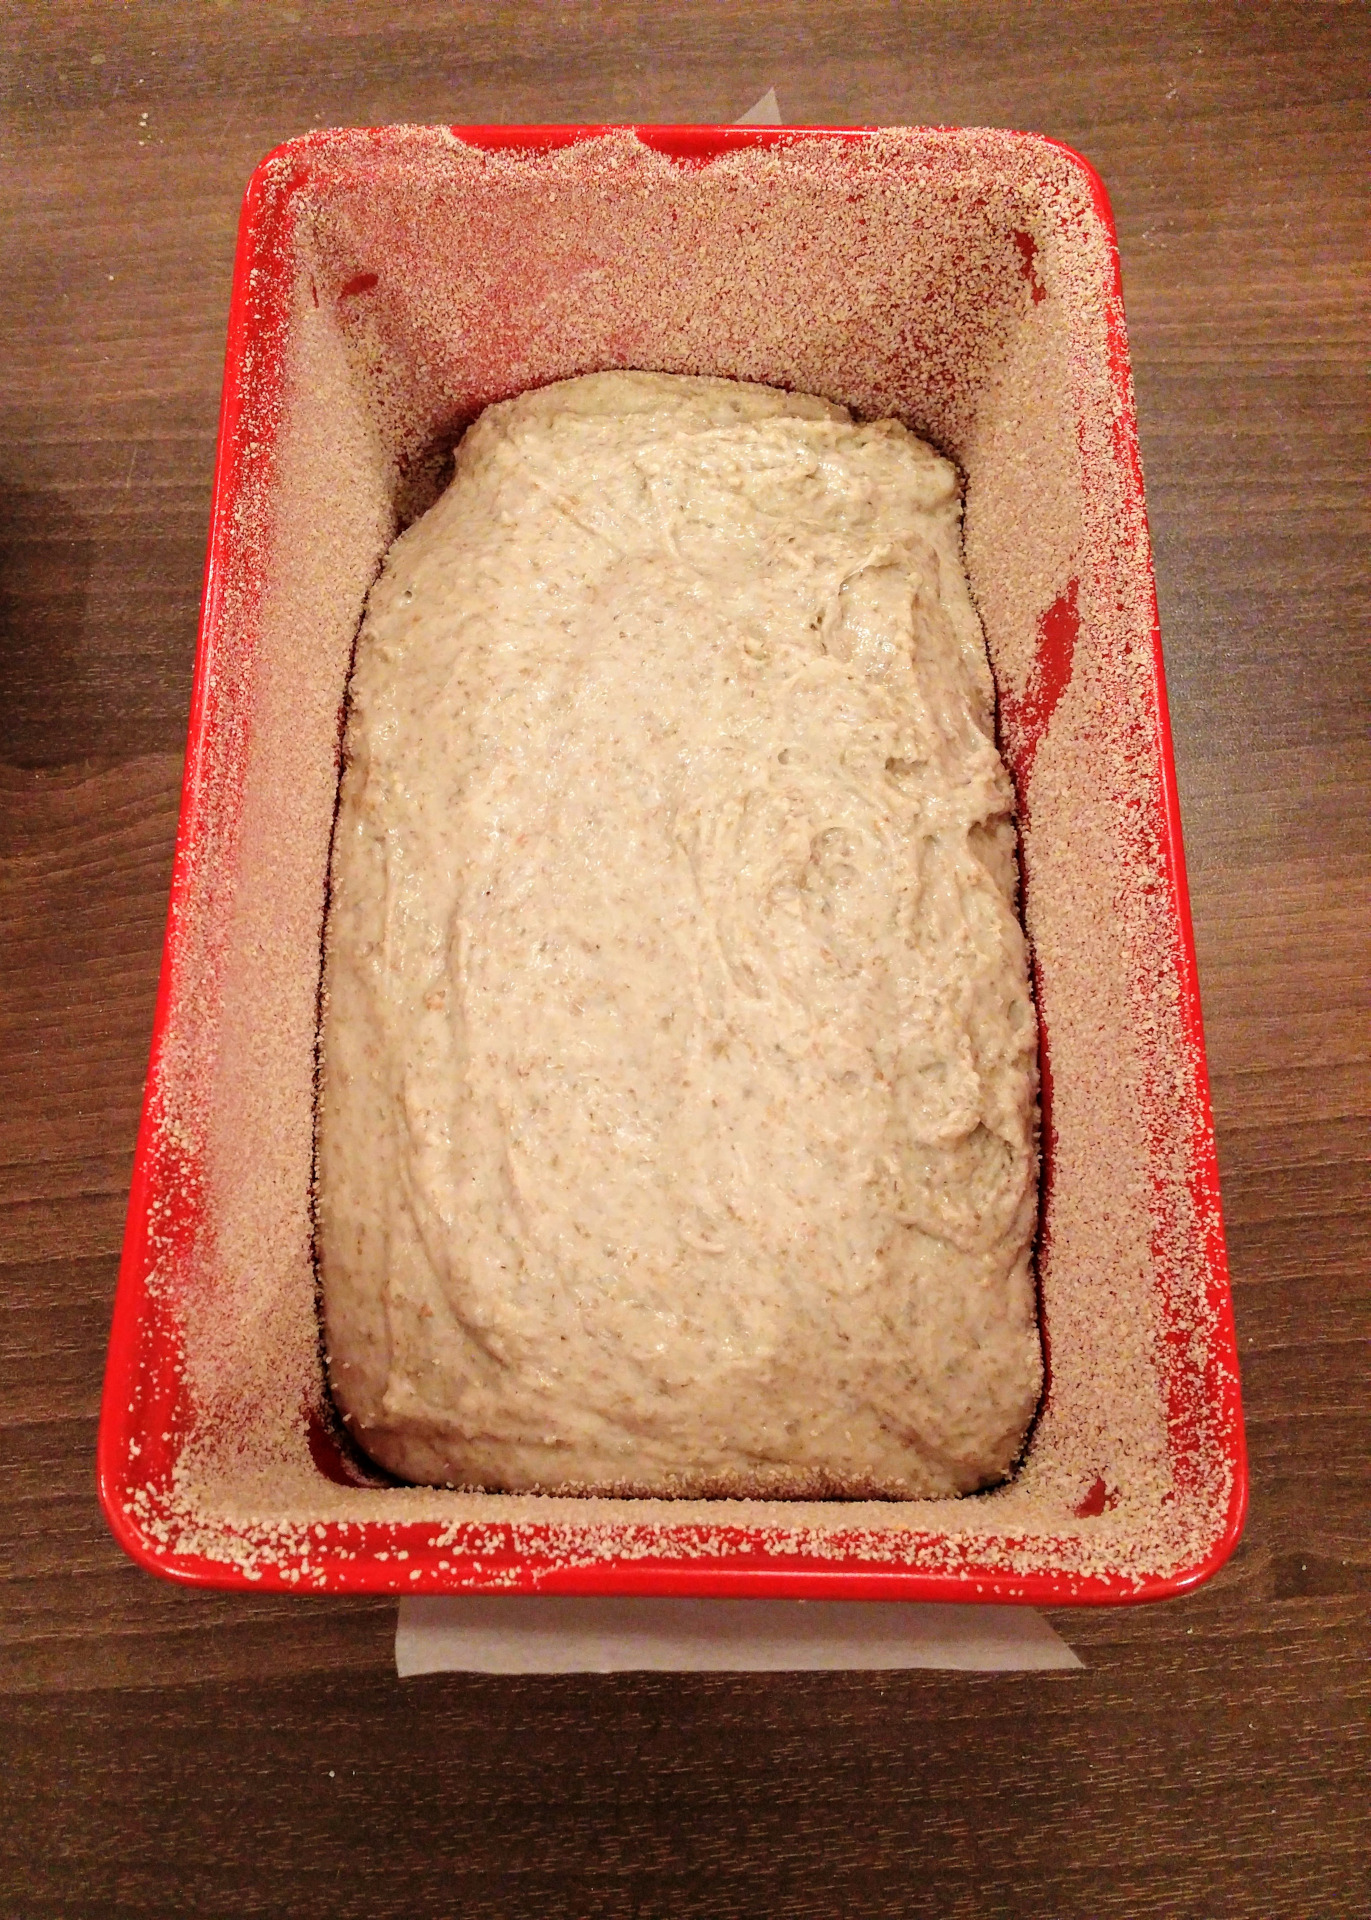
- Stir the dough up and transfer it into the baking mold.
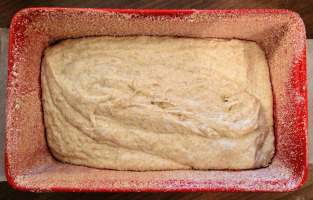
- Leave the dough in the baking mold for the next nine (9) hours.

Baking
- Preheat an oven to 195°C.
- Put the mold with the dough to the preheated oven.
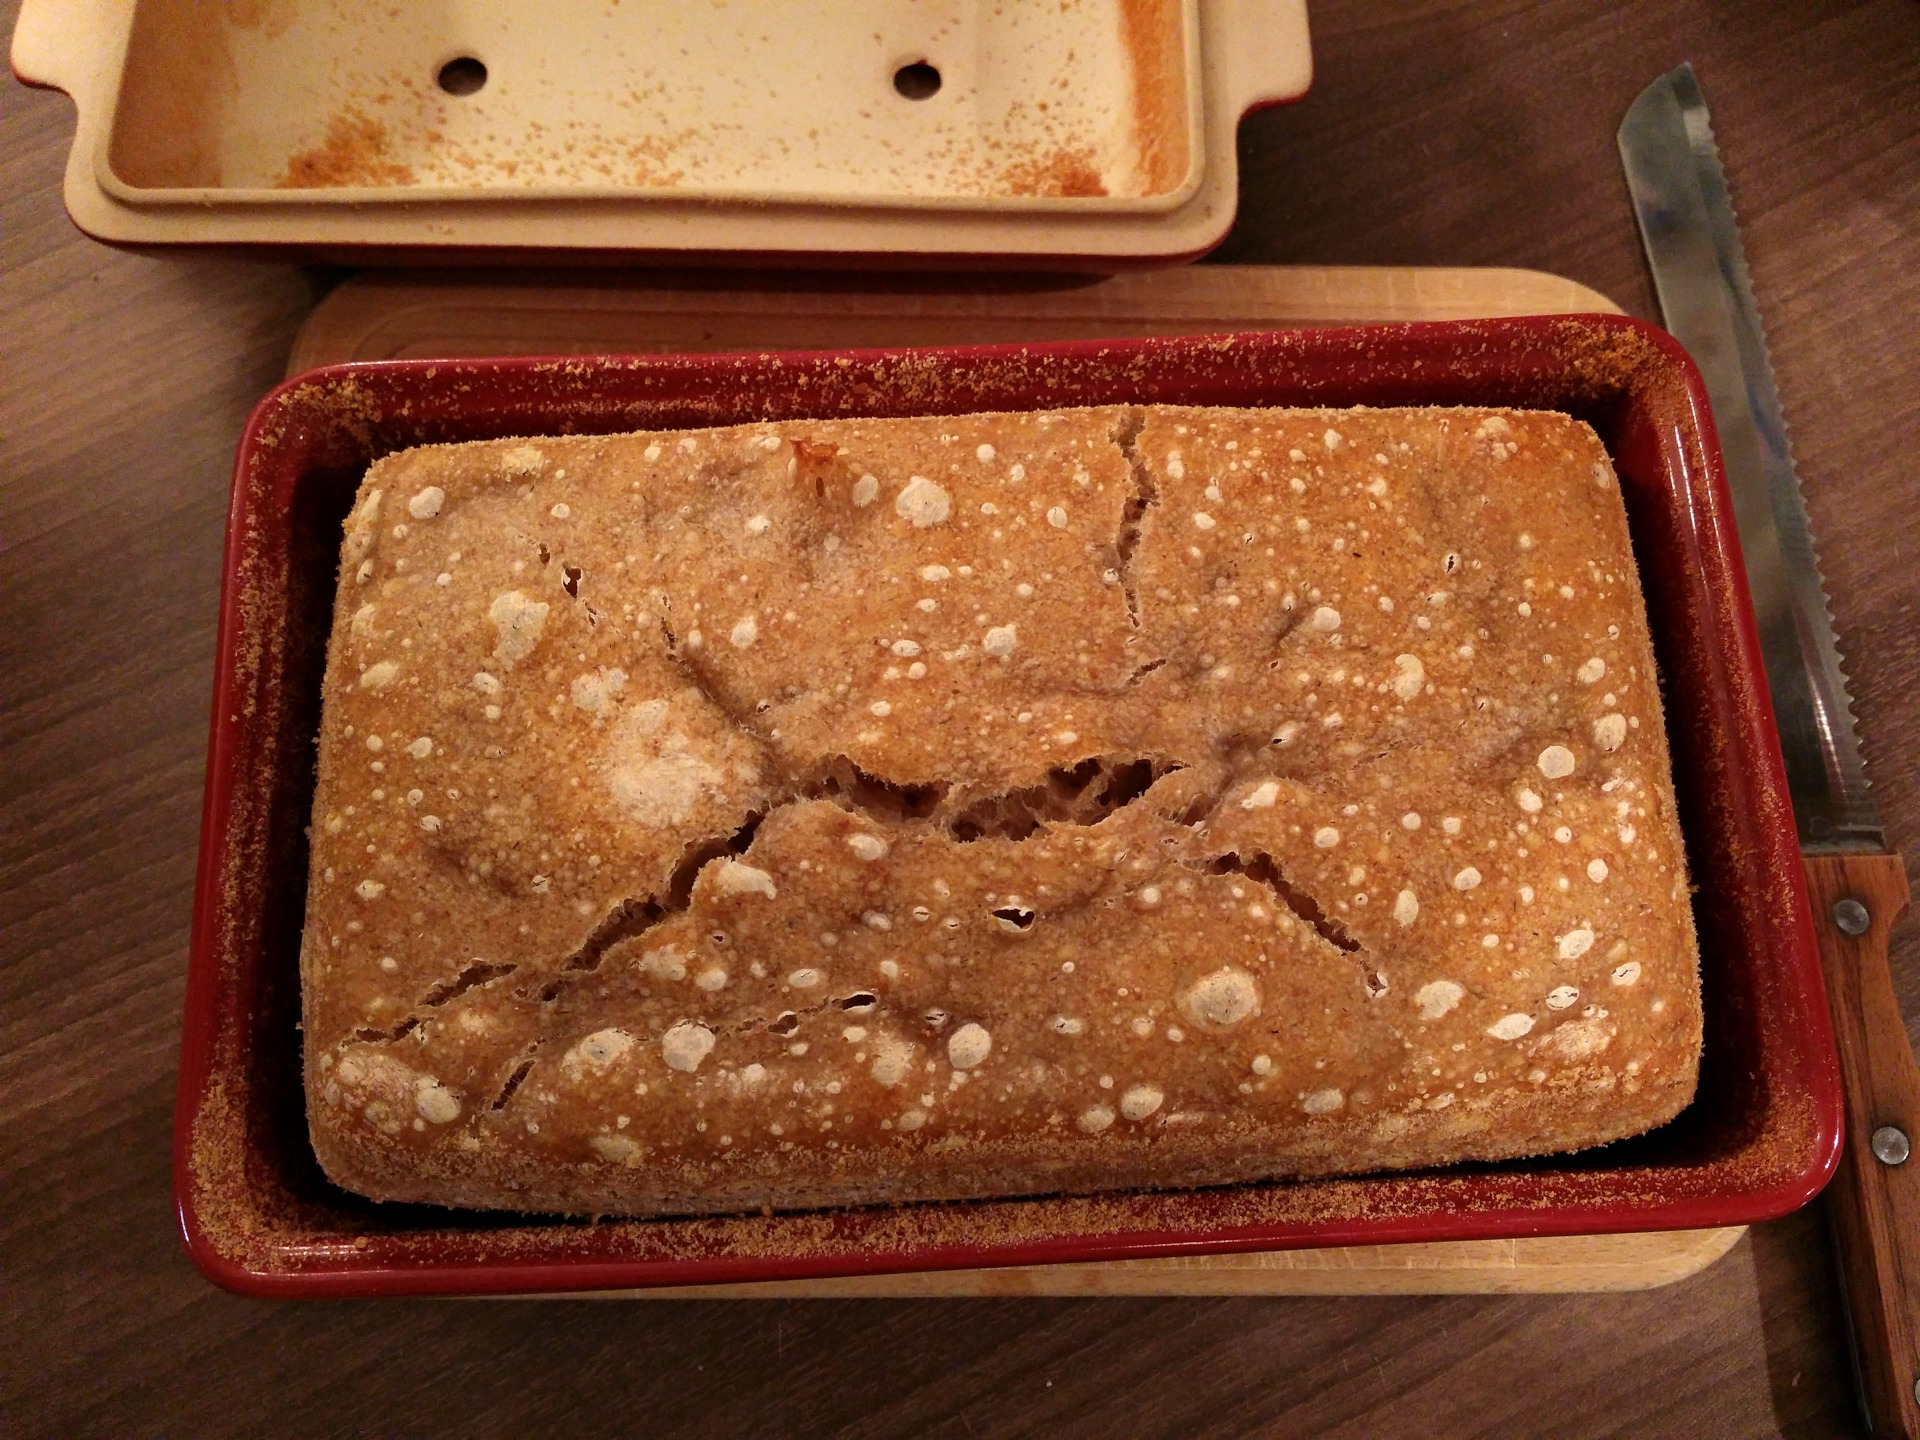
- Bake for about 50–60 minutes.
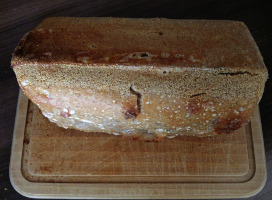
- Take the mold out of the oven and the bread out of the mold.
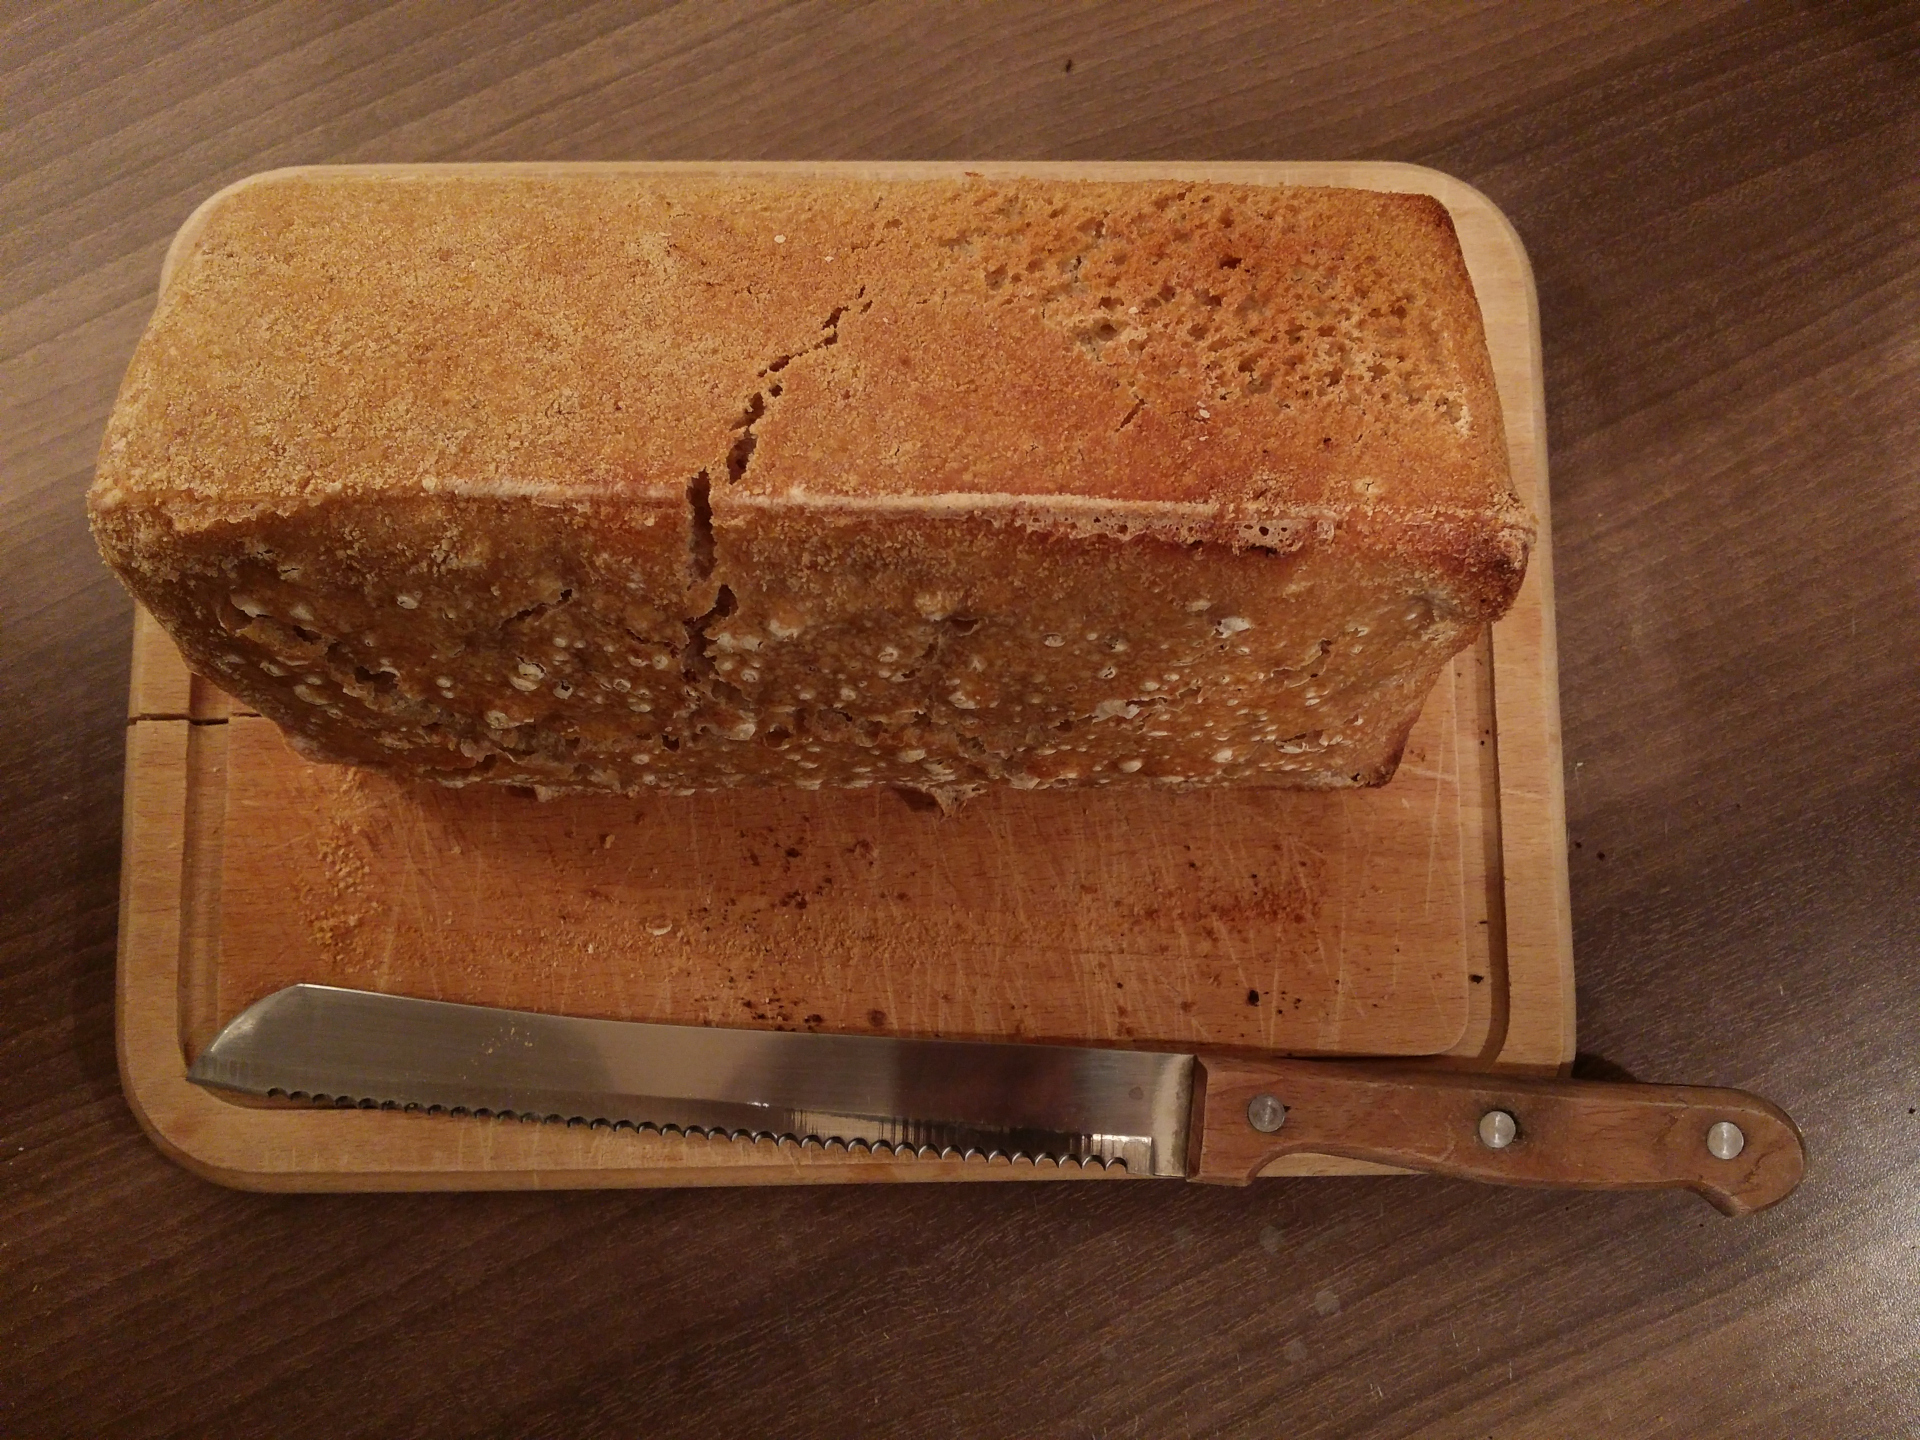
- Put the bread aside on the wooden board.
- Wait till the bread is cool (you may change the sides which the bread is put on to prevent moistening of the crust).
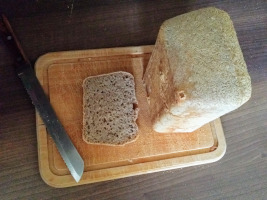
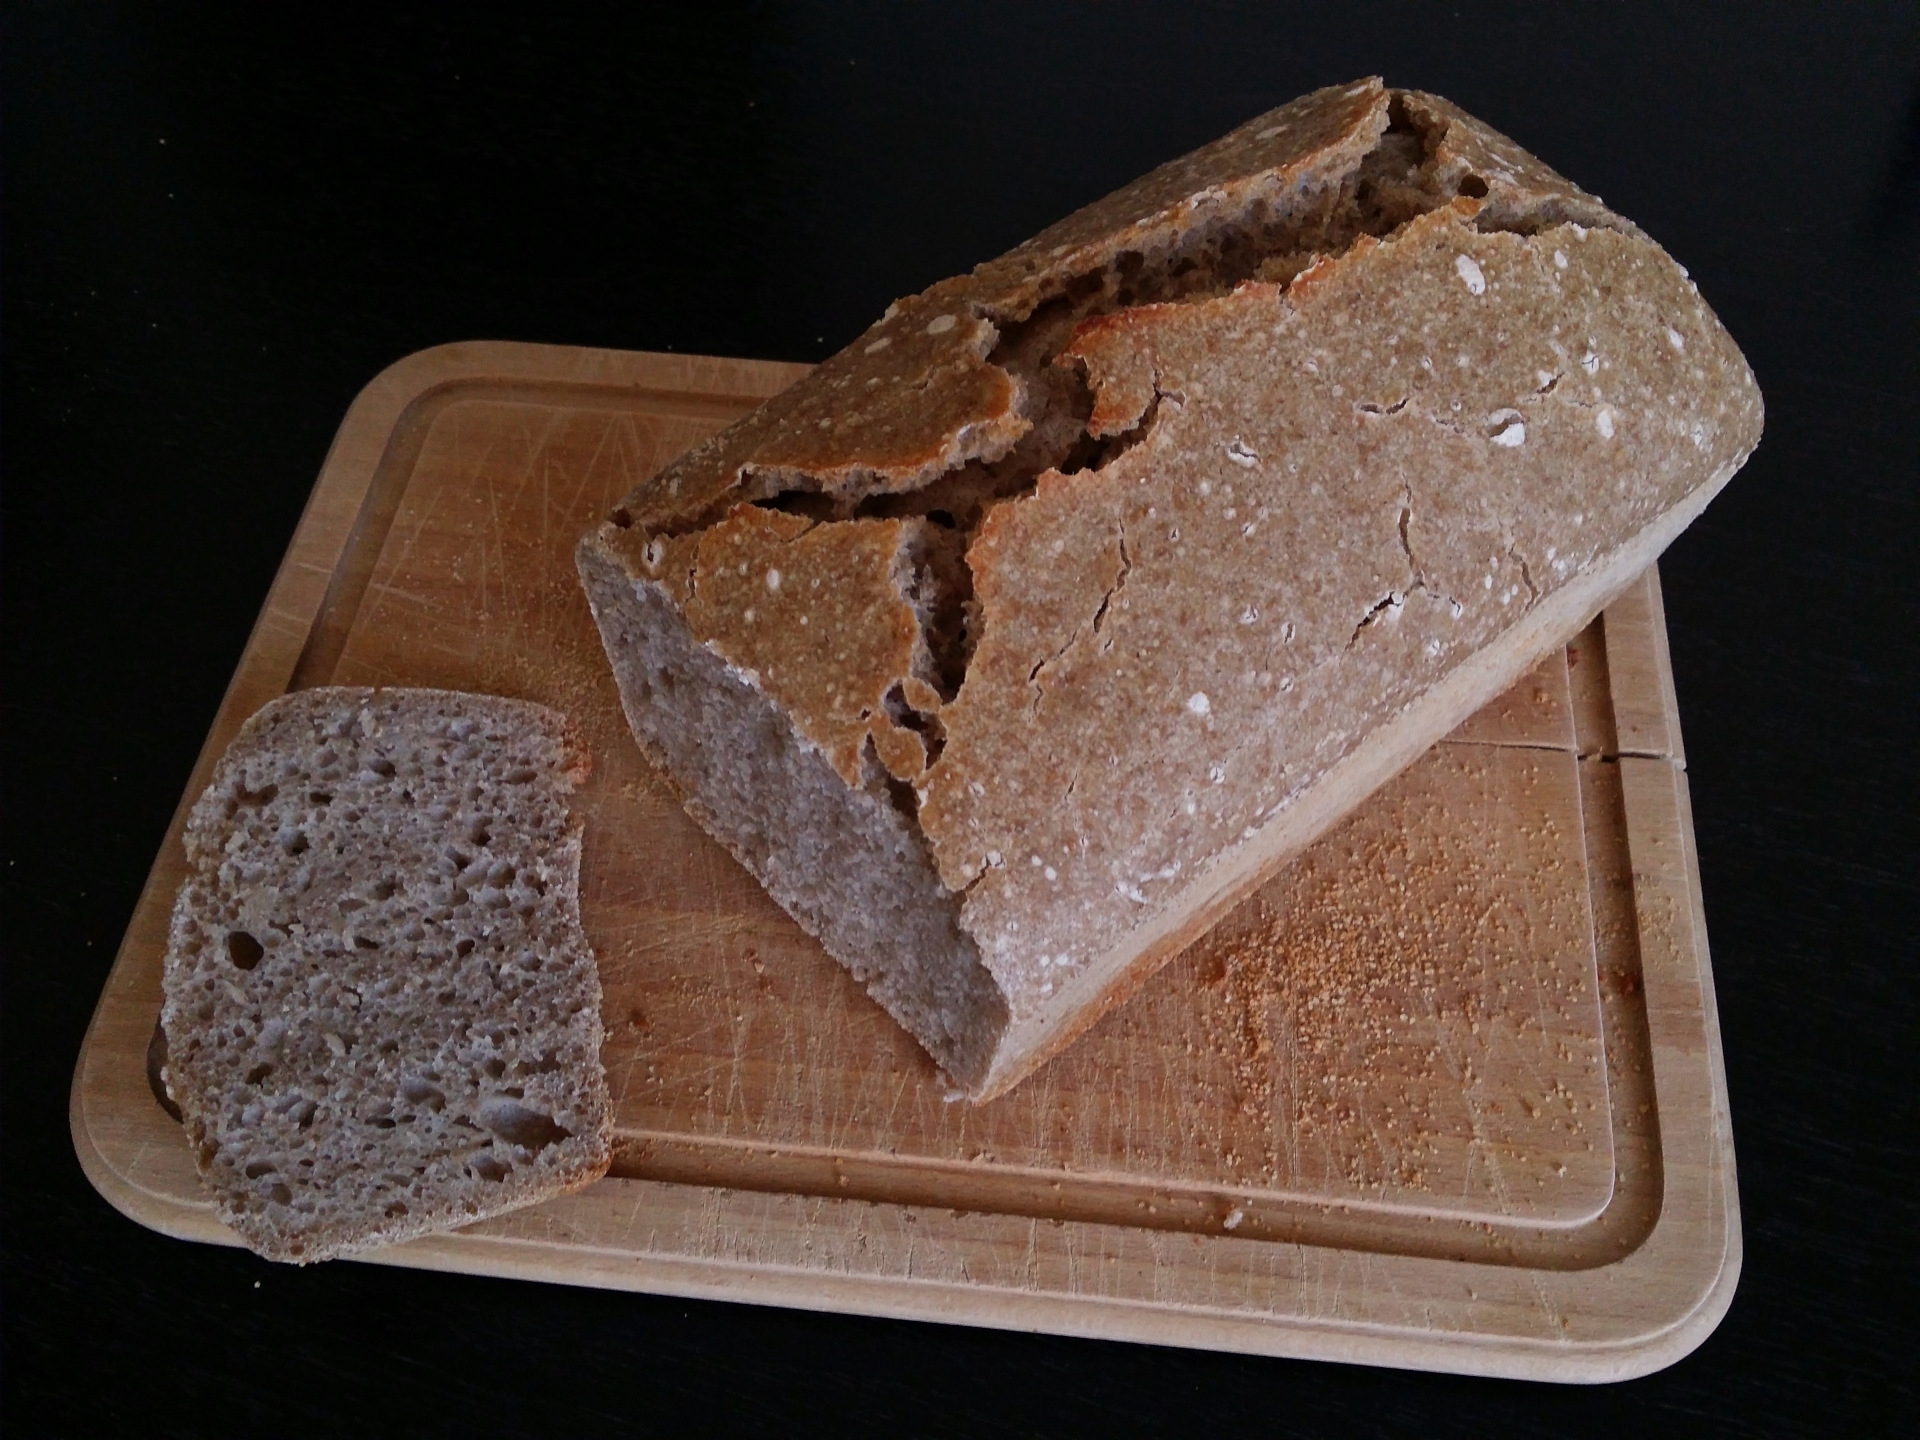
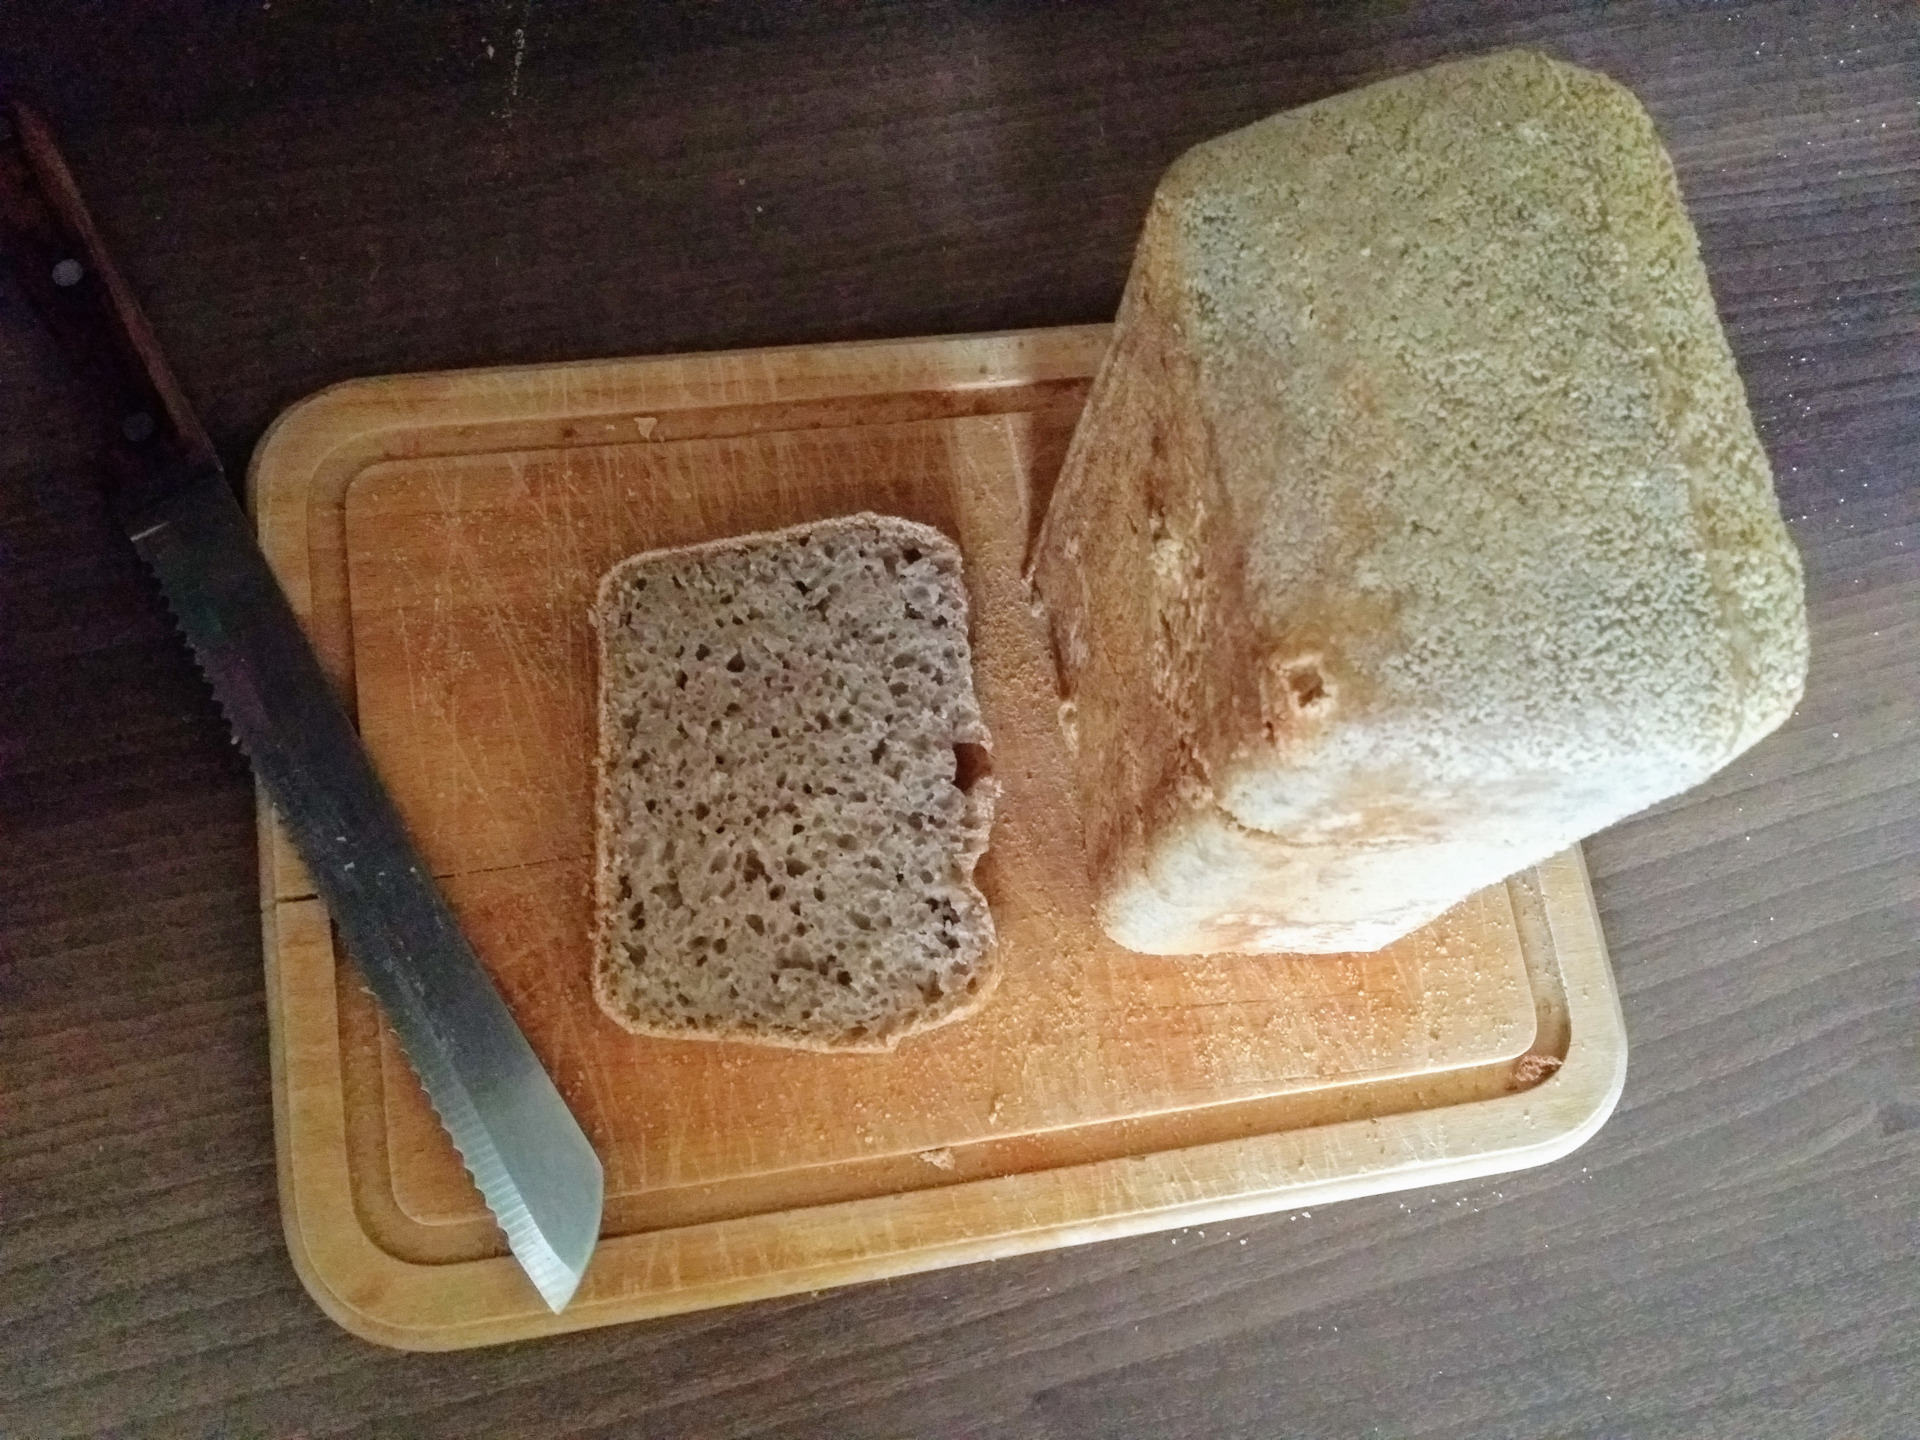
- Now it is the time for cutting your first crusty slice of the self-made sourdough bread, possibly adding some butter and maybe some other toppings, and falling into the pleasure of tasting.
- Last tip from me, after the first cutting put the bread vertically on the cut side on the wooden board and leave it that way (if you are able to leave it at all).


Bon appetit!
The sourdough you have put into the fridge will be ready for the next bread in about three days. The longest you can keep it in the fridge for about three weeks.